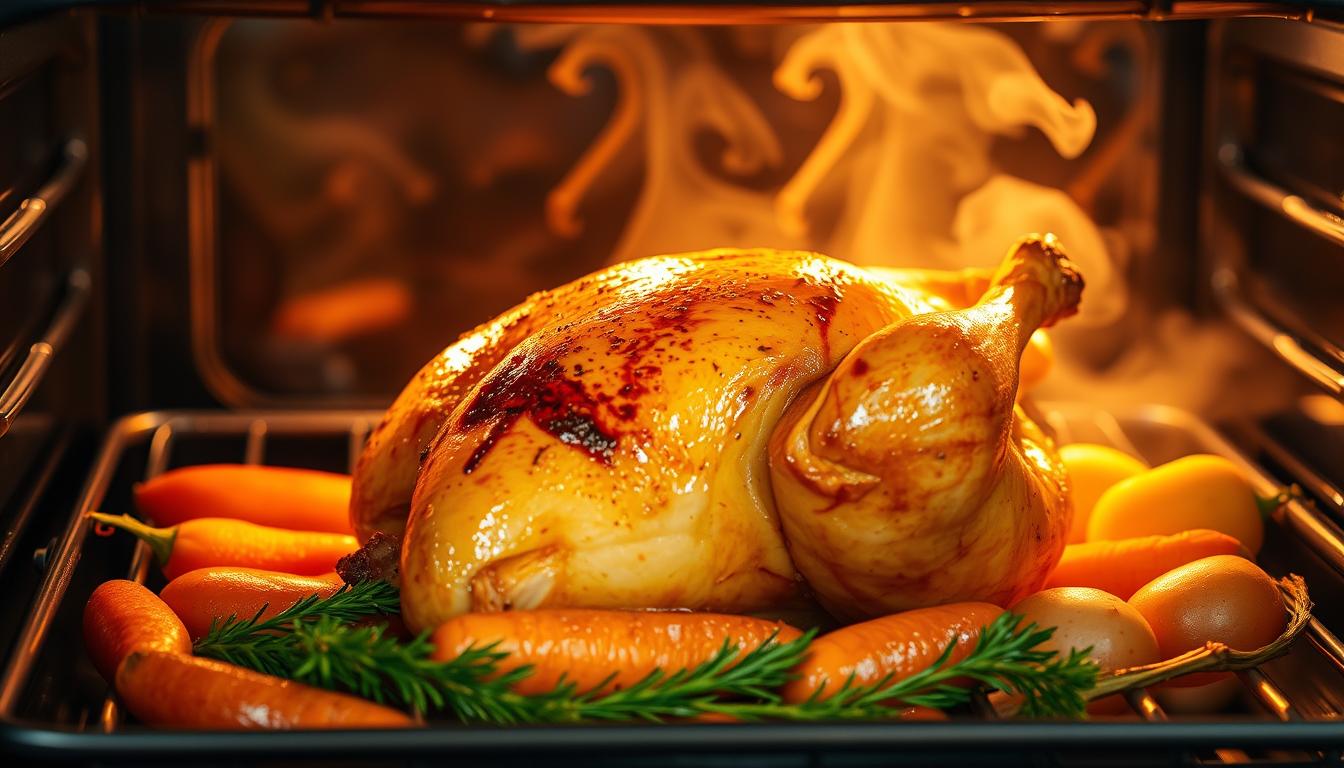
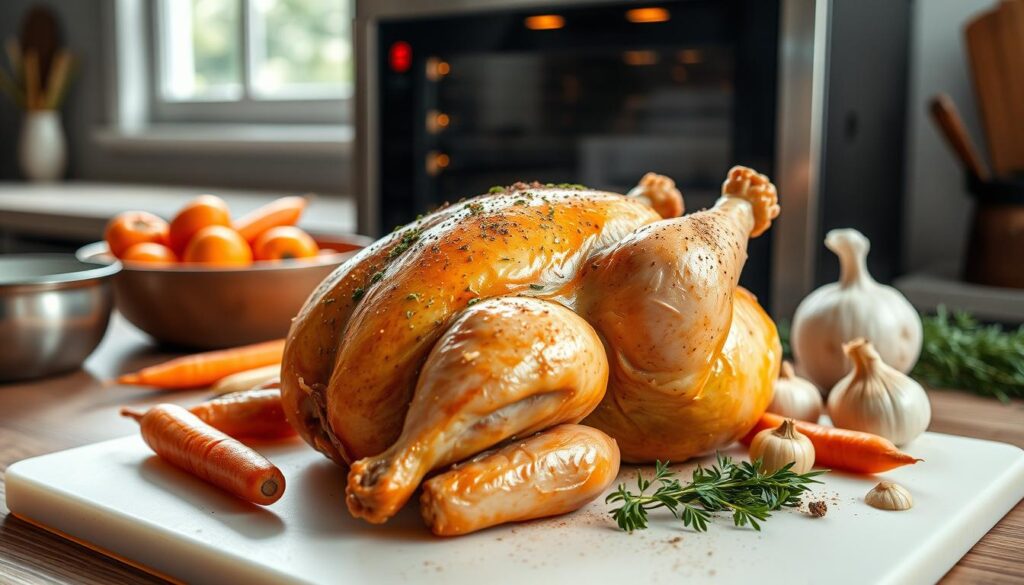
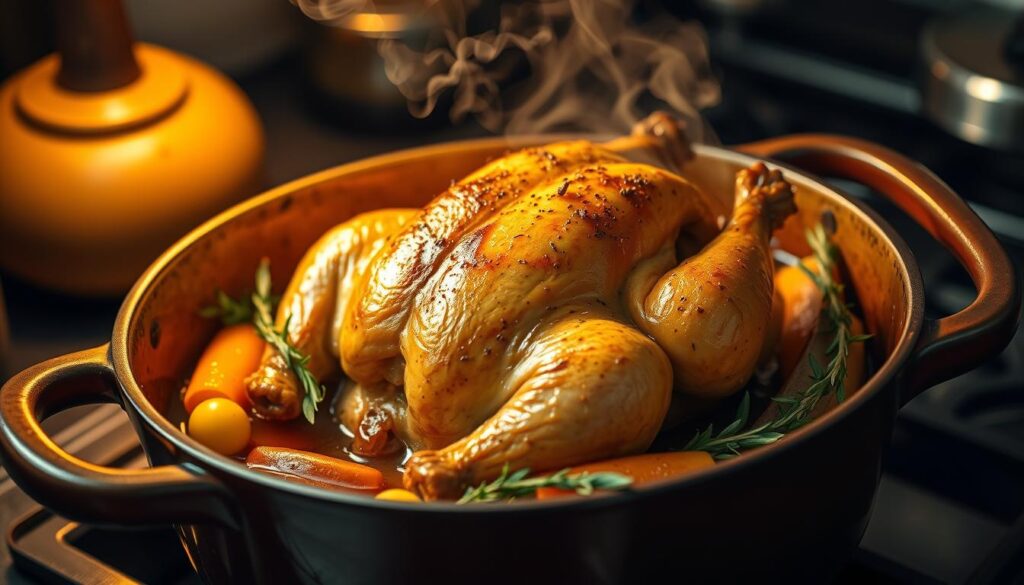
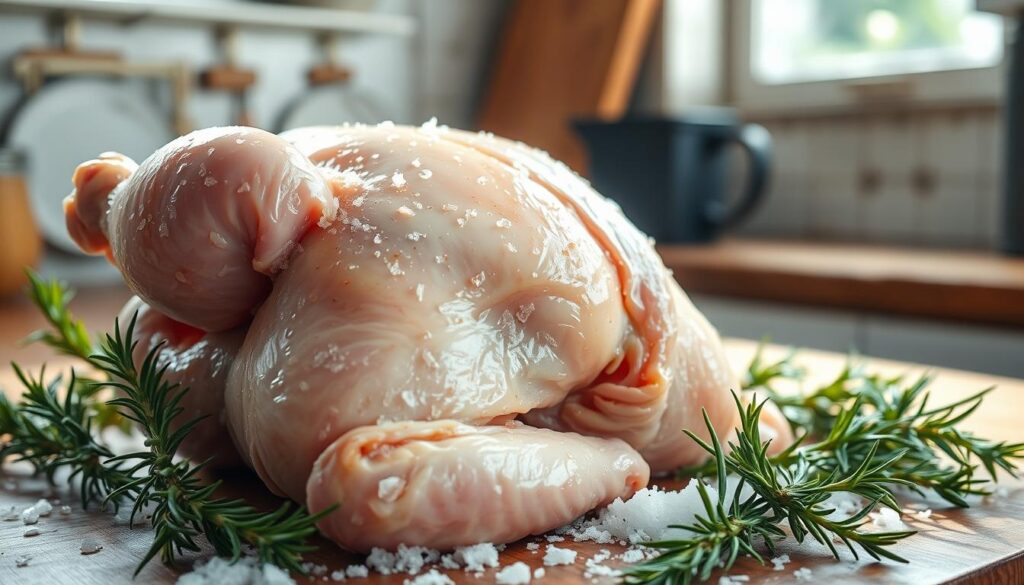
Every home cook dreams of making that perfect braised chicken in the oven. It’s a dish that turns a simple meal into a masterpiece. I remember the first time I found out how to get golden, crackling skin and tender meat.
This roasted chicken technique is more than cooking. It’s about making an experience that fills your kitchen with amazing smells. It brings family together. You’ll learn to make simple chicken thighs into a meal that tastes like it’s from a restaurant.
Mastering braising chicken in the oven opens up a world of flavor and texture. The crispy skin becomes a canvas for deep, rich flavors. Every bite is succulent and full of taste.
Key Takeaways
- Achieve perfectly crispy chicken skin through strategic dry-brining
- Learn professional techniques for tender, juicy meat
- Discover the ideal oven temperatures for braising
- Understand the importance of searing before braising
- Master a foolproof method for consistent, delicious results
The Perfect Braised Chicken in the Oven with Crispy Skin Recipe
Making a delicious oven-braised chicken needs care, love, and the right methods. This moist chicken recipe will make your cooking at home better. It turns a simple one-pan dish into a flavorful and tender meal.
Essential Equipment and Tools
Before starting, make sure you have these important tools for success:
- Large cast-iron skillet or heavy-bottomed pan
- Sharp kitchen knife
- Cutting board
- Meat thermometer
- Measuring cups and spoons
- Tongs
Recipe Overview and Time Requirements
This oven-braised chicken journey is a delightful experience. It takes about 1 hour and 10 minutes to prepare and cook. It’s perfect for a weeknight dinner or a weekend special.
- Preparation time: 30 minutes
- Cooking time: 40 minutes
- Servings: 2
- Oven temperature: 375°F
Ingredient List and Measurements
For this moist chicken recipe, you’ll need these high-quality ingredients:
- 3 ½ pounds chicken thighs (6-8 pieces)
- 2 teaspoons kosher salt
- ½ teaspoon ground black pepper
- 1 tablespoon cooking oil
- 1 large yellow onion, diced
- 1 large carrot, chopped
- 6 garlic cloves, minced
- 1 tablespoon fresh herbs (rosemary, thyme)
- ⅔ cup white wine
- 1-2 cups low-sodium chicken broth
By using these precise measurements and techniques, you’ll make a stunning one-pan chicken dish. It will impress your family and friends.
Understanding the Art of Chicken Braising
Braising turns simple chicken into a delicious, easy dinner. It combines two cooking methods for amazing results. Learning about braising helps you make chicken tender and full of flavor every time.
The braising process has two key steps:
- Searing: Creates a rich flavor and a golden-brown crust
- Slow cooking: Makes the chicken tender by cooking it in liquid
When braising chicken, it’s like giving it a flavorful bath. The first step, searing, locks in juices and adds a tasty crust. Then, slow cooking in liquid makes the chicken tender and flavorful.
Choose chicken with more fat, like thighs or drumsticks, for the best results. These cuts stay moist and develop a rich, juicy texture. This makes for a perfect easy chicken dinner.
- Ideal braising temperature: 300-375°F
- Recommended cooking time: 35-50 minutes
- Target internal temperature: 165°F
Mastering braising lets you create a restaurant-quality chicken dish. It will impress your family and friends.
Why Dry-Brining is Your Secret Weapon for Tender Meat
Start your sunday roast chicken journey with dry-brining, a technique loved by chefs. It makes your cooking stand out, giving you juicy meat and crispy skin. It’s a winner with food lovers.
The Science Behind Dry-Brining
Dry-brining is like culinary magic. Salting the chicken pulls out moisture. But don’t fret, it’s what you want! The salt then makes a brine that seasons the meat deeply, making it tender.
Optimal Brining Duration
For top results with your sunday roast chicken, try these brining times:
- Quick brine: 8-12 hours
- Intermediate brine: 24 hours
- Deep flavor brine: Up to 3 days
Salt and Seasoning Ratios
For crispy chicken skin, use about 0.5 tablespoons of kosher salt per pound of chicken. This balances seasoning without over-salting.
Pro tip: Let your brined chicken rest at room temperature for about 15 minutes before cooking. This ensures even cooking and that crispy skin everyone adores.
Essential Preparation Steps for Perfect Results
Starting with a delicious braised chicken in the oven is all about the prep. It turns a simple roasted chicken into a dish that wows everyone. The right steps are key to getting that crispy outside and juicy inside we all love.
First, pick a top-notch chicken and get your tools ready. You’ll need:
- Sharp kitchen shears
- Paper towels
- Cutting board
- Kosher salt
- Pepper
Here’s how to prep the perfect braised chicken:
- Pat the chicken dry with paper towels. Dry skin is essential for crispiness, so take your time.
- Remove the backbone with kitchen shears. This spatchcock method ensures even cooking.
- Flip the chicken breast-side up and press down to flatten it.
- Season with salt – about 1/2 teaspoon per pound of meat.
For crispy skin, let the chicken sit uncovered in the fridge for 1-2 hours after seasoning. This step dries the skin, making it crispy when cooked.
These steps are your secret to making a dish that rivals restaurant quality. Patience and detail are what make a dish that will wow your loved ones.
Mastering the Searing Technique for Crispy Skin
Getting crispy chicken skin is an art that turns a simple dish into a masterpiece. The searing method is key to that golden-brown look that makes your meal unforgettable.
Temperature Control Tips
Controlling the temperature is crucial for crispy chicken skin. Start with a good pan that keeps heat well. Here are some tips:
- Choose a cast-iron skillet or heavy-bottomed pan
- Heat the pan to medium-high temperature
- Use oils with high smoke points like avocado or vegetable oil
- Ensure the pan is hot before adding chicken
Achieving Golden-Brown Color
The secret to golden-brown crispy chicken skin is patience and technique. Leave the chicken skin-side down and resist the urge to move it. This helps the skin get a rich, caramelized color and crisp texture.
Common Searing Mistakes to Avoid
Beginners often make mistakes that stop them from getting crispy chicken skin. Watch out for these common errors:
- Overcrowding the pan, which reduces heat and prevents proper browning
- Moving the chicken too soon during searing
- Using low-heat cooking methods
- Failing to dry the chicken skin thoroughly before cooking
By mastering these searing techniques, you’ll turn your oven-braised chicken into a dish with irresistibly crispy skin. It will impress even the most discerning food lovers.
Creating the Perfect Braising Liquid
Making the perfect braising liquid turns a simple moist chicken recipe into a comfort food masterpiece. The right mix of liquids and aromatics can make your dish truly stand out.
Begin by picking a flavorful liquid base. A light beer or chicken broth is a great start. The goal is to keep your chicken tender and full of flavor.
- Choose high-quality chicken broth as your main liquid
- Add depth with a splash of light beer or white wine
- Incorporate fresh herbs like rosemary and thyme
- Include aromatics such as lemon slices and garlic
Your braising liquid should enhance the chicken’s natural taste. Here are the key ingredients:
- 1 cup chicken stock
- 1/2 cup light beer
- Fresh lemon slices
- 2 sprigs of fresh thyme
- 1 sprig of fresh rosemary
When making your moist chicken recipe, remember the braising liquid’s role. It adds flavor and makes the chicken moist and tender. This liquid cooks the chicken gently, ensuring every bite is juicy and full of flavor.
Oven Temperature and Timing Guidelines
To make the perfect braised chicken in the oven, you need to control the temperature and timing well. This is key to a delicious and easy chicken dinner.
Getting it right starts with the oven temperature. Chefs say to keep it at 350°F (175°C) for the best results. This temperature cooks the meat well and makes the skin crispy.
Temperature Milestones to Watch
- Initial preheat: 425°F (220°C) for searing
- Braising temperature: 350°F (175°C)
- Final temperature check: 165°F (74°C) internal meat temperature
Doneness Indicators for Perfect Chicken
There are visual and temperature signs to know when your chicken is done. Use a thermometer to check the meat’s internal temperature.
- Golden brown skin: Shows good searing and caramelization
- Internal temperature of 165°F (74°C): Makes sure it’s safe to eat
- Juices running clear: Another sign it’s fully cooked
For an extra crispy finish, try broiling for 1-2 minutes at the end. This step turns your braised chicken into a gourmet dish that looks and tastes amazing.
How to Serve and Garnish Your Braised Chicken
To make your one-pan chicken dish look great, focus on presentation. After braising, let the chicken rest uncovered for 10-15 minutes. This helps keep it juicy and flavorful.
Here are some tips to make your meal look amazing:
- Put the chicken and roasted veggies on a big, fancy platter
- Cut the chicken against the grain for tender, nice slices
- Drizzle the leftover braising sauce over the meat for extra moisture
Adding garnishes can really enhance your sunday roast chicken’s look. Try these elegant touches:
- Sprinkle fresh chopped herbs like parsley or thyme
- Add lemon wedges for a bright, citrusy touch
- Scatter roasted garlic cloves around the platter
Your one-pan chicken dish will look like it was made by a pro. The goal is to make it look inviting. Show off the golden-brown chicken and colorful veggies.
Pro tip: Warm your serving platter a bit before arranging the chicken. This keeps the meal warm and appealing.
Tips for Storing and Reheating Leftovers
Keeping your roasted chicken delicious means storing and reheating it right. With the right methods, your moist chicken will stay tasty for a long time.
Refrigeration Guidelines
Your braised chicken will keep well in an airtight container for up to 4 days. Here are some important storage tips:
- Cool the roasted chicken completely before storing
- Use shallow, sealed containers
- Keep refrigerator temperature below 40°F
Freezing Strategies
Freezing is great for longer storage of your moist chicken. It helps keep the flavor and texture good.
- Use freezer-safe containers or bags
- Remove excess air to prevent freezer burn
- Freeze for up to 3 months
- Thaw overnight in the refrigerator
Reheating Methods
Here’s how to make your roasted chicken taste like new again:
- Oven Method: Preheat to 350°F, cover with foil, heat for 15-20 minutes
- Skillet Method: Use medium-low heat, add a splash of broth
- Microwave: Heat at 70% power in 1-minute intervals
Make sure the chicken heats up to 165°F for safety. A tip: Adding a bit of olive oil can help it stay moist when reheating.
Conclusion
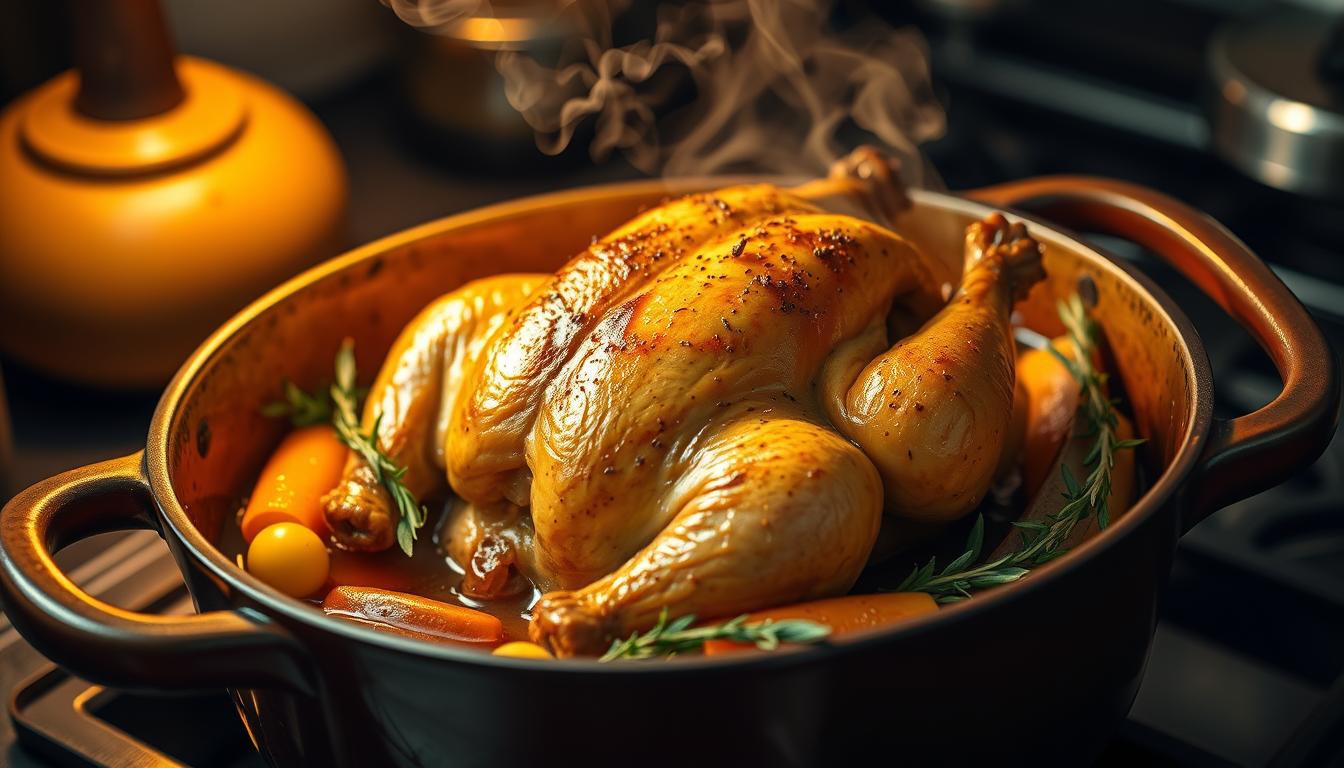
Learning to make braised chicken in the oven with crispy skin is more than cooking. It’s about creating a special comfort food experience. You’ve picked up techniques that turn simple chicken thighs into a dish that wows everyone.
The secret to this recipe is its simplicity and focus. You’ve learned how to dry-brine, get a perfect sear, and keep the oven at 300°F. This way, you get tender, flavorful chicken with crispy skin every time. Each piece has about 25 grams of protein, making it tasty and healthy.
You’ve also learned to choose the right tools and techniques. Using a Dutch oven and wire rack helps with even cooking and keeps the chicken moist. With practice, you’ll feel more confident to try new things and make the dish your own.
Great cooking is about passion, precision, and a love for learning. This recipe is your key to making unforgettable meals. Embrace the journey, trust your instincts, and enjoy the delicious outcomes of your cooking adventures.
FAQ
How long does it take to dry-brine a chicken?
Dry-brining can take 8 hours to 3 days. For the best flavor and moisture, 8 hours is a good start. But, 24-48 hours can make the chicken even more tender and flavorful. The longer you dry-brine, the deeper the flavor gets.
Can I use a different type of liquid for braising?
Yes! You can try different liquids like beer, white wine, or apple cider. Pick something that goes well with the chicken’s flavor and keeps it moist. Make sure the liquid is rich and complex to enhance the dish.
What’s the best way to ensure crispy chicken skin?
For crispy skin, dry the chicken well before cooking. Use dry-brining and sear it in a hot pan. Finish in the oven at a steady temperature. Don’t cover the chicken while it cooks to keep the skin crispy.
How do I know when the chicken is fully cooked?
Use a meat thermometer to check the chicken’s internal temperature. It should be 165°F (74°C) at the thickest part, like the thigh. Look for clear juices and meat that easily pulls away from the bone. Let the chicken rest for 10-15 minutes after cooking.
Can I prepare this recipe with chicken pieces instead of a whole chicken?
Yes, you can use chicken pieces like thighs, drumsticks, or breasts. Adjust cooking times based on the size and type of piece. Bone-in, skin-on pieces are best for keeping moisture and getting crispy skin.
How long can I store leftover braised chicken?
Store leftover braised chicken in an airtight container in the fridge for 3-4 days. Keep the chicken and braising liquid separate for better quality. You can freeze it for up to 3 months. Always reheat to 165°F (74°C) before eating.
What are the best herbs and seasonings for braised chicken?
Herbs like rosemary, thyme, and sage are great with chicken. Lemon zest, garlic, and black pepper add a lot of flavor. For a richer taste, try herbs de Provence or a mix of dried herbs. Season well but don’t overpower the chicken’s natural taste.
Perfect Braised Chicken in the Oven with Crispy Skin
Ingredients
- 3 ½ pounds chicken thighs 6-8 pieces, bone-in, skin-on
- 2 teaspoons kosher salt
- ½ teaspoon ground black pepper
- 1 tablespoon cooking oil avocado or vegetable oil
- 1 large yellow onion diced
- 1 large carrot chopped
- 6 cloves garlic minced
- 1 tablespoon fresh herbs rosemary and thyme
- ⅔ cup white wine
- 1-2 cups low-sodium chicken broth
Instructions
- Pat the chicken thighs dry with paper towels to ensure crispy skin.
- Season the chicken with kosher salt and black pepper, then let it rest uncovered in the refrigerator for at least 1 hour (or up to 24 hours for deeper flavor).
- Preheat the oven to 375°F (190°C).
- Heat a large cast-iron skillet or heavy-bottomed pan over medium-high heat. Add cooking oil.
- Sear the chicken skin-side down for 4-5 minutes until deeply golden brown, then flip and cook for another 2 minutes.
- Remove the chicken from the pan and set aside. In the same pan, sauté the onion and carrot until softened, about 3-4 minutes.
- Add the minced garlic and fresh herbs, stirring for 1 minute until fragrant.
- Deglaze the pan by pouring in the white wine, scraping up any browned bits.
- Add the chicken broth and bring the liquid to a simmer.
- Return the seared chicken to the pan, skin-side up. Cover partially and transfer the pan to the oven.
- Braise the chicken for 35-40 minutes until the internal temperature reaches 165°F (74°C).
- For extra crispy skin, place the pan under the broiler for 1-2 minutes before serving.
- Let the chicken rest for 10-15 minutes before serving. Spoon some of the braising liquid over the top for added flavor.

